一、下载ESXI6.7-7.0最新版本的离线包
官网下载自己注册下载
二、下载ESXi-Customizer-PS最新版本
https://www.v-front.de/p/esxi-customizer-ps.html 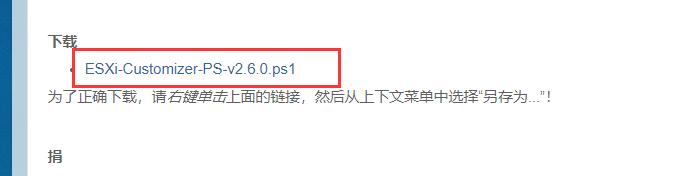
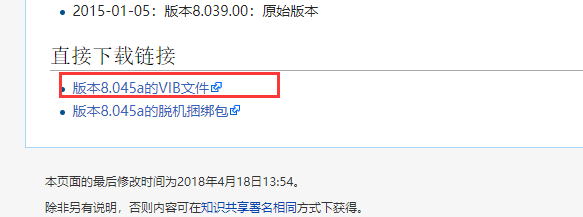
三、下载需要的驱动
下载需要的驱动,我的网卡为Realtek8111
https://vibsdepot.v-front.de/wiki/index.php/List_of_currently_available_ESXi_packages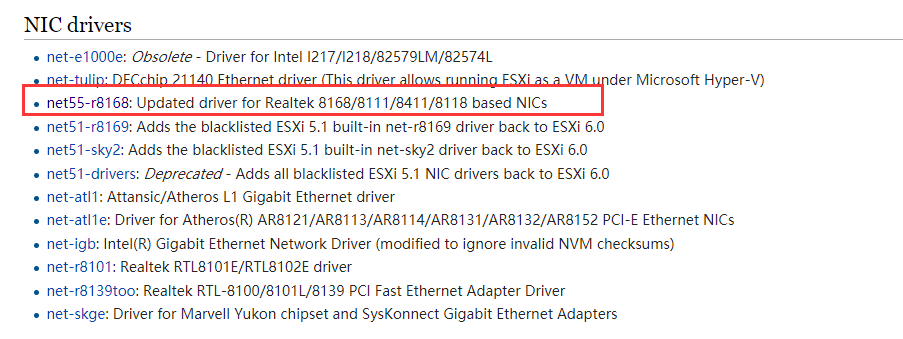
四、开始打驱动补丁及封装
桌面新建文件目录esxi\pkg
esxi目录放ESXi-Customizer-PS-v2.6.0.ps1和ESXi670-201912001.zip
esxi\pkg放下载的VIB驱动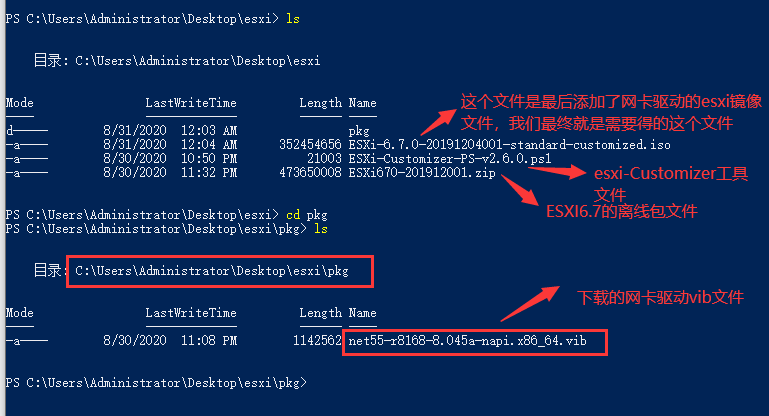
1.需要一个win10的系统
2.以管理员身份打开windows PowerShell,安装依赖
Install-Module -Name VMware.PowerCLI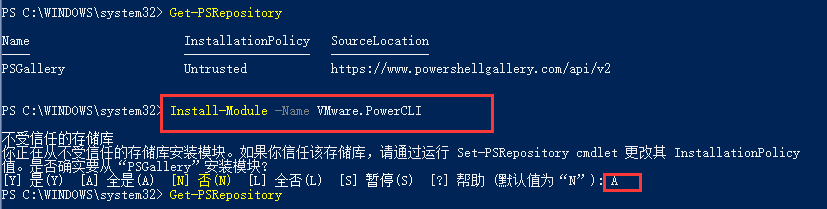
3.调整PowerShell的执行策略来让脚本可以正常运行。默认的执行策略是无法运行脚本的。
Set-ExecutionPolicy Unrestricted 
4.开始打驱动补丁并自动封装为ISO
cd C:\Users\Administrator\Desktop\esxi
.\ESXi-Customizer-PS-v2.6.0.ps1 -izip .\ESXi670-201912001.zip -pkgDir C:\Users\Administrator\Desktop\ESXI\pkg
完成后,会在当前目录下生成一个esxi的iso文件。
ESXi-Customizer-PS-v2.6.0.ps1还有很多其他的用法,可以在
https://www.v-front.de/p/esxi-customizer-ps.html#download
找到其他详细用法。
